Replacing the axle gear
on a Bachmann Spectrum 2-8-0
If you have a large scale Bashmann Spectrum 2-8-0 "Connie", the chances
are that sooner or later you're going to have a problem with the axle
gear. The plastic they used is a bit brittle and prone to crack at the
hub and slip, or to lose teeth. Mine had both when I got it. If you are
the original owner Bachmann will fix it --- or more precisely replace
it with another one made of the same cheese as the failed one --- if
you aren't, or prefer to do it yourself AND you want it to stay fixed,
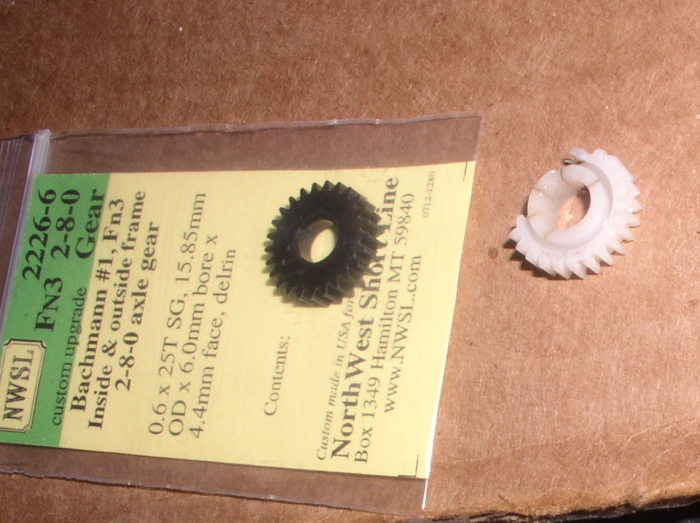
Northwest Shortline makes a much better replacement for the standard Bachmann gear. It is part number 2226-6. Yes, it costs about 3 times what the Bachmann gear does, but also seems to be worth every penny.
What you're going to need:
Small Phillips Screwdriver(s)
Jewelers screwdriver(s)
Nut driver or small Crescent wrench
needlenose pliers
sleeve, bit of 1/4" iron pipe or 3/8" deepwell socket
something to cradle the locomotive
shallow dish for screws
replacement gear
grease and oil
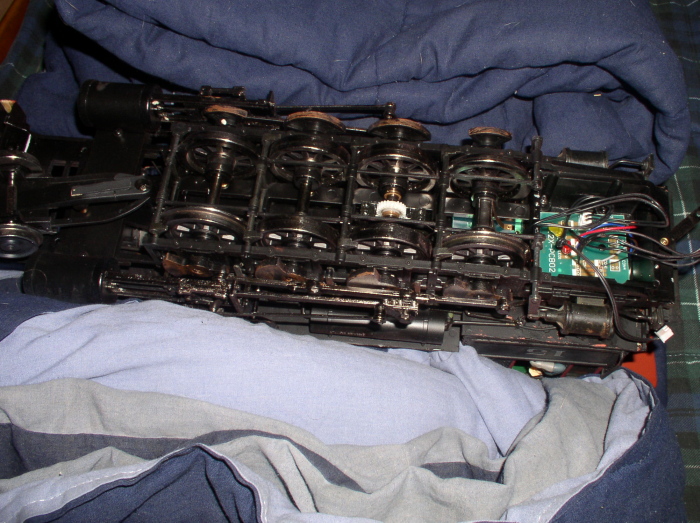
The first order of business is to fashion some sort of cradle to hold
the locomotive steady while it is upside down. I used a folded
comforter, but the lid of the original packing foam would probably work
even better - if you still have it.
There are 4 screws on the gear cover. These can be removed first. But
be extra careful you don't drop them down inside the boiler!
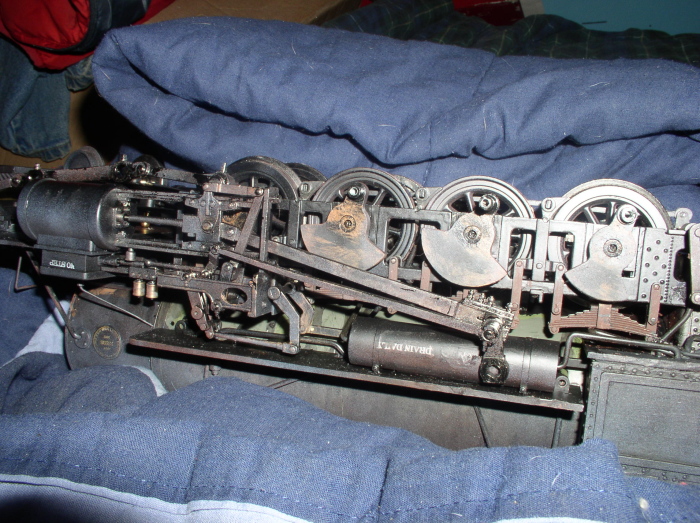
The next step is to remove the hex head screws holding on the siderods.
However, I only removed 6 and simply loosened the front ones to allow
the rods to slip off. The I laid them up over the pilot out of the way
Then you remove the 16 small screws holding the two bottom frame rails
in place. These are really small so a shallow dish to keep the screws in
is a good idea. then gently lift the brake rigging and fold it rearward out of
the way.
Then the axle simply lifts straight up and out. Be careful not to lose
the suspension springs or contact plungers! - Bachmann may not have
replacements for these anymore.
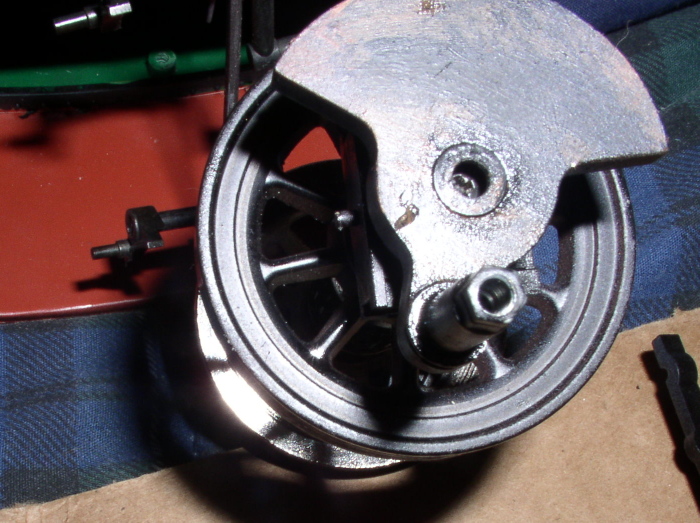
The counterweights are held on with a single screw through the end. You
only really need to take off one side. Remove the screw and gently pull
the counterweight straight off the end of the shaft. (If one side won't
come off, replace the screw and try the other - it doesn't martter
which one you remove)
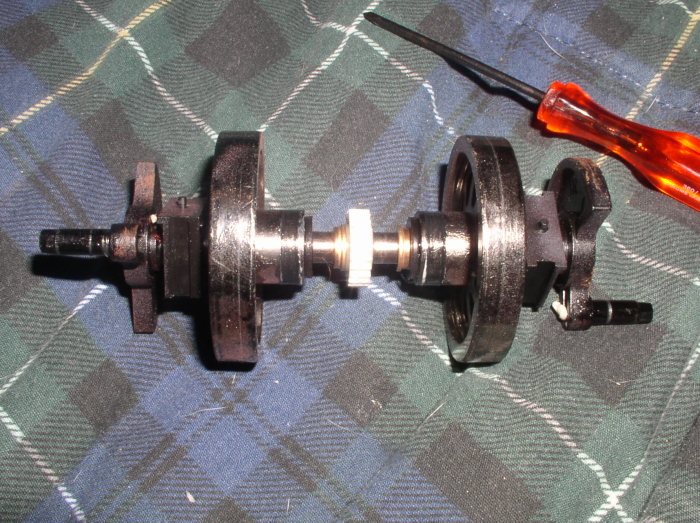
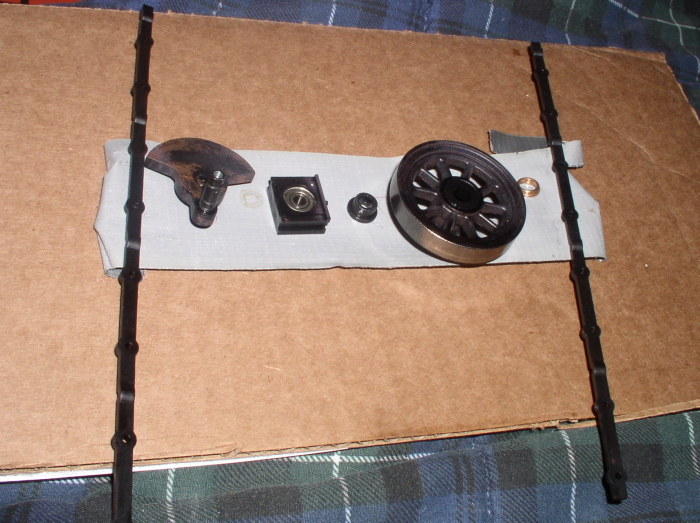
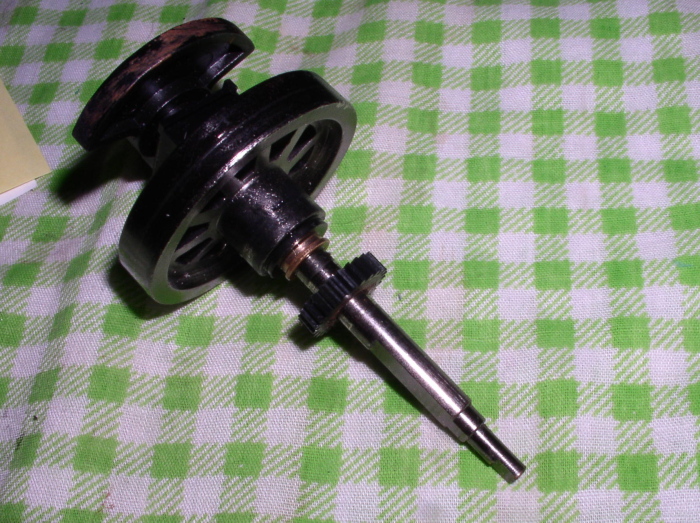
With the counterweight removed, the bearing, spacer, wheel. and gearbox
bushing will simply slide off the axle. I laid them out on a
piece of duct tape as I removed them to keep track of them, and orient
which side was out.
Removing the old gear was really easy... it pretty much crumbled.
As you can see, the NWSL gear is designed slightly different, and
they say is less prone to crack or break.
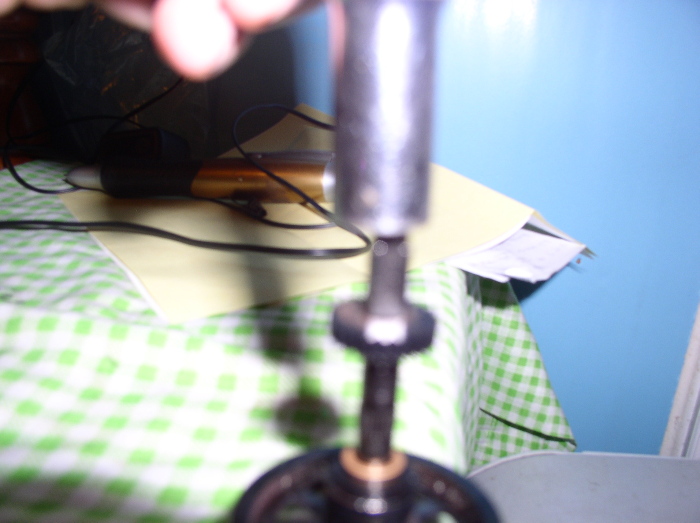
It is an interference fit, and will need pressed on. I used a 3/8"
deepwell socket and a bench vice in place of an arbor press. But you
could probably just tap it on using some sort of simple sleeve and a
small hammer if you absolutely had to.
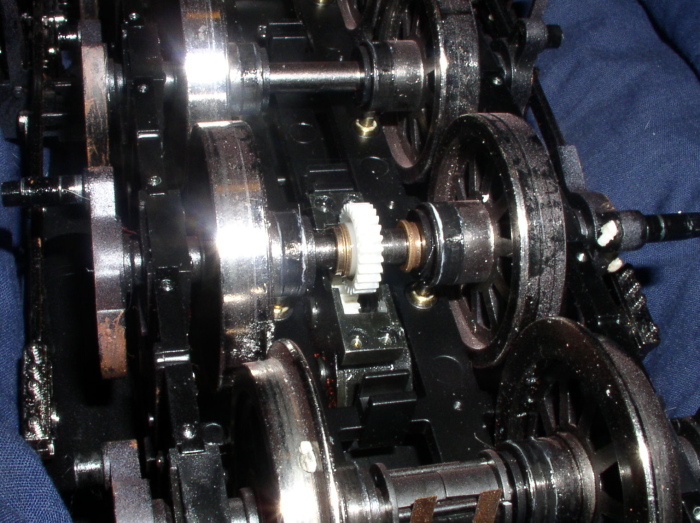
New gear installed. Then you just slide the parts back on the same way
they came off, make sure the counterweight is quartered the same as the
others, and replace the screw....
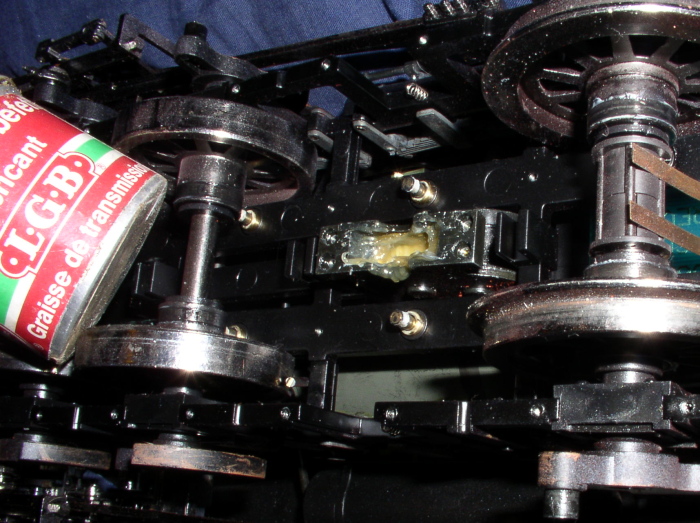
Now is probably a really good time to dig out the old grease and put in
new! Don't buy cheap grease, and no real need to skimp, either. That
little bitty tub of LGB grease has lasted me about 10 years so far.
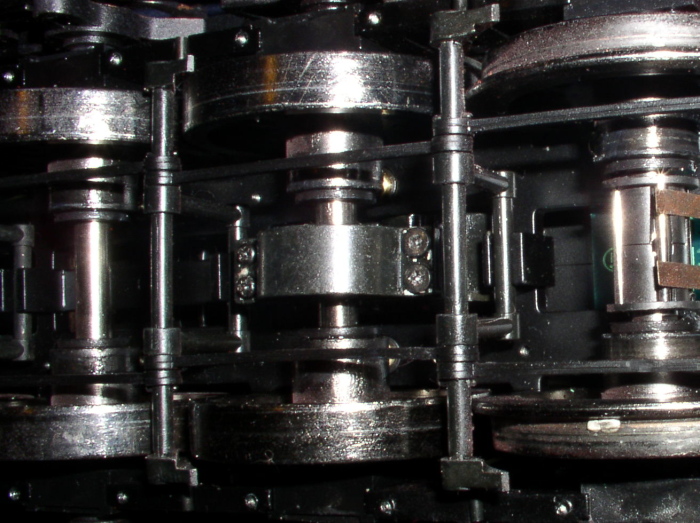
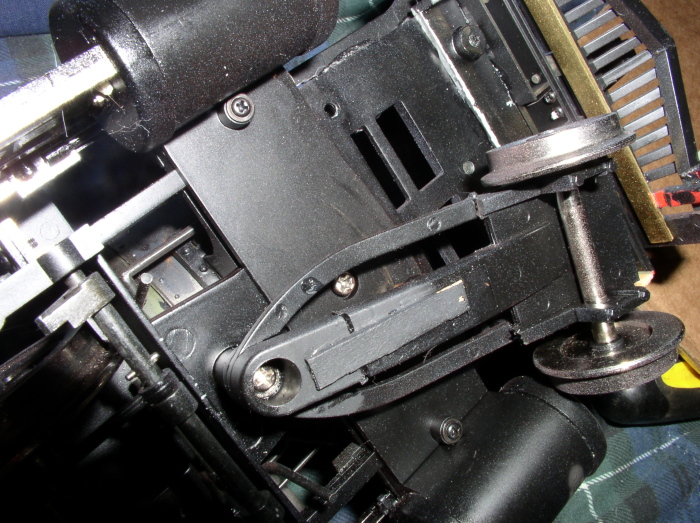
This next part is where you earn your pay. It's a bit of a 3 handed job with only room for one.......
First you set the axle in the guides (the journal goes pin downwards towards the spring, the flat side is facing you).
Then with a toothpick or jewelers screwdriver slide the bronze bushings so they line up with the sides of the gearbox.
Next you gently lift the gearbox up to meet the axle.... and hold it in
place (I used a jewelers screwdriver as a lever in the slot on the
front end of the case) while you fit the cover. Note: It's MUCH easier
if you put the 4 screws in the cover before you put the cover in
place.... don't ask me how I know...
Then you reinstall the brake rigging, the bottom frame bars (Again, put
the screws in them first, too!) and then the siderods...
Last, lightly lubricate the siderods and valve gear
When it's done it will look just like when you started., except now the
locomotive should run for many years without another failure.
Removing the noise suppressor
While I was at it, I decided to remove the boiler to check the gearbox
screws and remove the noise suppressor since some folks report having
trouble with these using PWC (Crest/Aristo) power packs .
What you are going to need:
Small phillips screwdriver
Medium phillips screwdriver
needlenose pliers
soldering iron and electrical solder
shallow dish for screws
There are four v-e-r-y tiny screws holding the ashpan on. After the
ashpan is removed you can see the 4 mounting screws holding the boiler
to the chassis.
There's also a long screw at the front centered between the cylinders.
a screwdriver just fits or you can remove the pilot truck first for
easier access.
If yours is stock you will also have to remove some of the piping, the
tiny screw that attaches the Johnson bar reach rod to the reverse gear,
and
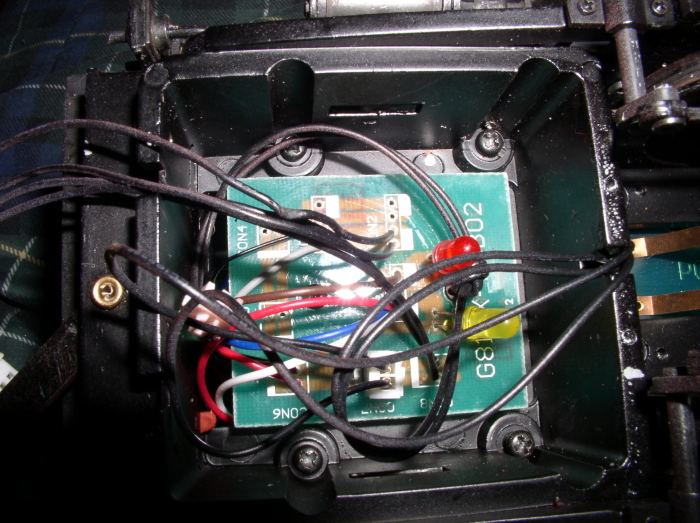
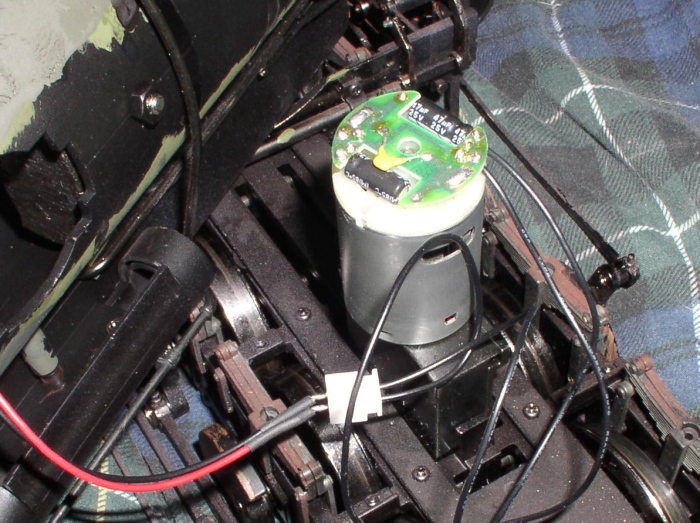
the brace rods from the smokebox. The wires at the firebox end are
pretty short and small -- so watch you don't pull and break them! Once
you have the boiler lifted off you can see the suppressor board mounted
to the end of the motor.
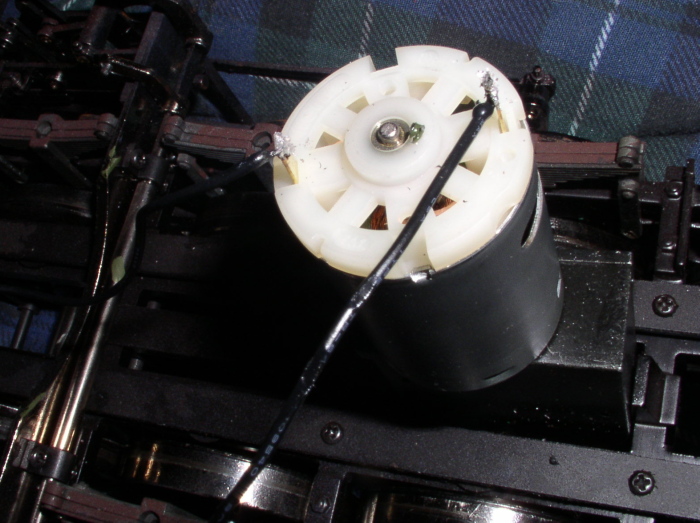
The noise suppressor is pretty easy to get rid of - just unsolder the
board from the motor, then the wires from the board, and re-solder the
two wires directly to the motor tabs in the same positions they were on
the board (being careful not to overheat the motor leads!).... If you
need to double check yourself, simply set the chassis up on a couple
blocks or rollers, apply power to the wheels, and make sure the
headlight is on bright when the wheels are turning forward.
Now is probably a good time to tighten
the screws in the side of the gearbox, too. Even if it isn't the reason you have it apart. Mine were all 1/4 to 1/2
turn loose...... Then you stuff the motor wires back into the hole in
the boiler, set the frame on the boiler, make certain you aren't
pinching any of those little wires in the firebox, and reinstall the 5
screws... then put the ashpan back on and replace the reach rod screw and piping. Then flip the
locomotive back on it's wheels.... and...... guess what? You did it!!!

See! I knew you could do it, too! All you needed was the confidence to try.
Return me to the AV pages